

The 100 dollar bill drawing is one of the most fascinating and challenging artistic subjects for beginners and professional artists alike. The $100 bill is not just currency — it is a symbol of history, security, design precision, and artistic complexity. With its intricate patterns, detailed portrait, microprinting, and advanced security features, drawing a 100 dollar bill requires patience, precision, and practice.
In this comprehensive guide, you will learn everything about creating a stunning 100 dollar bill drawing, including materials, step-by-step instructions, shading techniques, proportions, realism tips, historical background, and common mistakes to avoid.
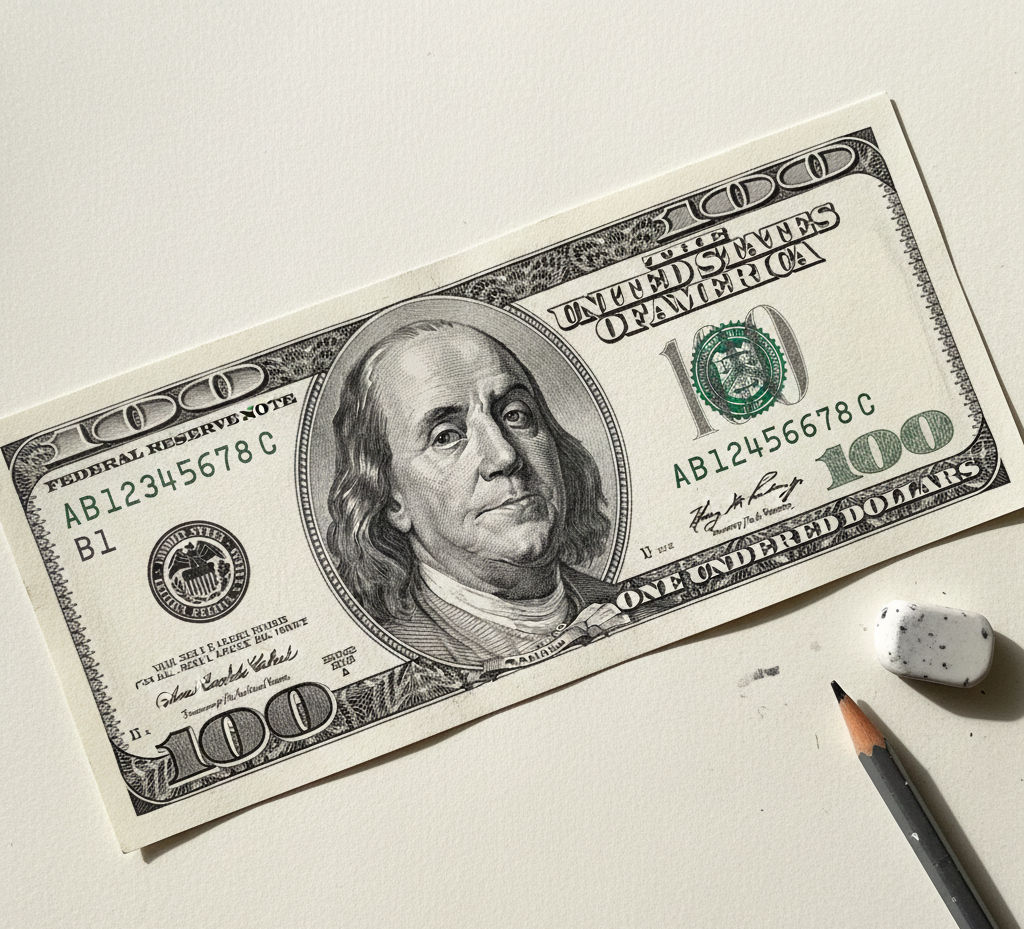
Understanding the Structure of a 100 Dollar Bill Drawing
Before you begin your 100 dollar bill drawing, it is important to understand the structure of the bill itself.
The modern U.S. $100 bill features:
- A portrait of Benjamin Franklin
- The Independence Hall on the reverse side
- Security ribbon (blue 3D security ribbon)
- Color-shifting ink
- Microprinting
- Federal Reserve seals
- Serial numbers
- Ornamental borders and decorative scrollwork
The dimensions of a real U.S. $100 bill are approximately 6.14 inches by 2.61 inches. Keeping the correct proportions in your drawing is essential if you want a realistic result
Materials Needed for a Realistic 100 Dollar Bill Drawing
Creating a detailed 100 dollar bill drawing requires the right tools. Here’s what you should prepare:
- HB pencil (for light sketching)
- 2B or 4B pencil (for shading)
- Mechanical pencil (for fine details)
- Ruler (for accurate dimensions)
- Eraser (preferably kneaded eraser)
- Fine liner pen (optional)
- Colored pencils (light blue, green, gold for realism)
- High-quality drawing paper
If you want to add color realism, colored pencils are highly recommended, especially for the blue security ribbon and green Treasury seal.
Step-by-Step Guide to 100 Dollar Bill Drawing
Step 1: Outline the Base Rectangle
Start your 100 dollar bill drawing by drawing a long horizontal rectangle using a ruler. Keep proportions accurate. Light sketching is important at this stage.
Step 2: Divide the Layout
Divide the rectangle into sections:
- Left section for the portrait
- Center section for text and security ribbon
- Right section for seals and serial numbers
Use very light guidelines to maintain symmetry.
Step 3: Sketch Benjamin Franklin’s Portrait
Benjamin Franklin’s portrait is the centerpiece of any 100 dollar bill drawing.
Focus on:
- Face structure
- Hair details
- Expression
- Clothing folds
Use light strokes first, then gradually build darker tones for depth. Pay attention to highlights and shadows to create a realistic appearance.
Step 4: Add Decorative Borders
The borders are intricate and detailed. Carefully sketch:
- Floral patterns
- Curved lines
- Repeated ornamental shapes
Patience is key here. These small details define the authenticity of your 100 dollar bill drawing.
Step 5: Draw the Security Ribbon
The blue 3D security ribbon runs vertically on modern bills. Use light blue shading and add tiny squares within it. Even if simplified, including this feature enhances realism.
Step 6: Add Text and Numbers
Include:
- “United States of America”
- “One Hundred Dollars”
- Serial numbers
- Federal Reserve seal
- Treasury seal
Write carefully and keep letters proportional. A mechanical pencil works best for this step.
Step 7: Shade and Add Depth
Shading brings your 100 dollar bill drawing to life. Focus on:
- Franklin’s face (darkest areas around eyes and under chin)
- Shadows under text
- Slight gradient on background
Use blending techniques with tissue or blending stump for smooth texture.
Techniques to Make Your 100 Dollar Bill Drawing Look Realistic
1. Use Cross-Hatching
Cross-hatching helps create fine textures, especially in the portrait and background.
2. Pay Attention to Micro Details
Even tiny lines contribute to realism.
3. Study a Reference Image
Always observe a real bill or high-resolution image.
4. Work Slowly
A realistic 100 dollar bill drawing can take several hours.
Common Mistakes in 100 Dollar Bill Drawing
Even skilled artists make mistakes. Here are some common errors:
- Incorrect proportions
- Over-dark shading
- Ignoring fine details
- Uneven borders
- Misplaced serial numbers
Avoid rushing. Precision is more important than speed.
History Behind the 100 Dollar Bill
The $100 bill has undergone many design changes over the years. The portrait of Benjamin Franklin has appeared since 1914. Modern security features were added to prevent counterfeiting.
Understanding its history adds depth and appreciation to your 100 dollar bill drawing.
Why Artists Love Creating a 100 Dollar Bill Drawing
There are several reasons:
- It challenges precision
- It improves fine detail skills
- It strengthens shading techniques
- It builds patience
- It creates impressive portfolio pieces
Drawing currency is like training your hand to master complexity.
Black and White vs Colored 100 Dollar Bill Drawing
Black and White Drawing
- Focus on shading and contrast
- Easier for beginners
Colored Drawing
- More realistic
- Requires colored pencils
- Adds advanced detail
Choose based on your skill level.
How Long Does a 100 Dollar Bill Drawing Take?
- Beginner: 3–6 hours
- Intermediate: 2–4 hours
- Advanced artist: 1–3 hours
Time depends on detail level and realism.
Creative Variations of 100 Dollar Bill Drawing
You can also try:
- Cartoon style
- Pop art version
- Hyper-realistic version
- 3D illusion drawing
- Pencil sketch only
- Charcoal version
Let your creativity flow while respecting legal boundaries.
Is It Legal to Create a 100 Dollar Bill Drawing?
Yes, drawing currency for educational or artistic purposes is generally legal. However, it must not be used for fraud or counterfeiting. Never attempt to replicate currency for illegal use.
Your drawing should clearly be an artwork, not a counterfeit.
Tips for Beginners Practicing 100 Dollar Bill Drawing
- Start with basic shapes
- Practice drawing faces separately
- Work on borders independently
- Focus on clean lines
- Practice shading gradients
Improvement comes with repetition.
Advanced Shading Techniques for 100 Dollar Bill Drawing
Advanced artists can try:
- Layered graphite shading
- Highlight lifting with kneaded eraser
- Fine micro line work
- Texture simulation
These techniques create hyper-realism.
Digital 100 Dollar Bill Drawing
If you prefer digital art:
- Use layers
- Zoom in for details
- Use fine brush settings
- Study vector designs
Software like Procreate or Photoshop can help replicate intricate patterns.
Educational Value of 100 Dollar Bill Drawing
Drawing currency improves:
- Hand-eye coordination
- Observation skills
- Fine motor control
- Patience and discipline
- Attention to detail
It is excellent training for artists interested in realism.
Final Thoughts on 100 Dollar Bill Drawing
The 100 dollar bill drawing is more than just copying money — it is an exercise in excellence, precision, patience, and persistence. Every line you draw sharpens your skill. Every shade you blend improves your mastery.
From sketching Benjamin Franklin’s thoughtful expression to carefully crafting the ornamental borders, the journey of creating a 100 dollar bill drawing teaches discipline and detail.
Whether you are a beginner testing your abilities or an advanced artist refining realism, this subject challenges and elevates your artistic skills.
Take your time. Focus on precision. Study the details. And most importantly — enjoy the process.
READ MORE: NEWZTOP.CO.UK