

Capturing high-quality photos with a professional touch has never been easier thanks to modern smartphones. Among the most popular features today is the ability to blur the background in photos, also known as creating a bokeh effect. This technique emphasizes your subject while softening the surroundings, giving your pictures a professional and artistic look. For iPhone users, this feature is both accessible and versatile, whether you are using portrait mode, third-party apps, or even editing afterward.
In this comprehensive guide, we will cover everything you need to know about how to blur background on iPhone, including methods, tips, and troubleshooting.
how to blur background on iphone Understanding Background Blur on iPhone
Before diving into the steps, it’s important to understand what background blur is and how it works on an iPhone.
What Is Background Blur (Bokeh Effect)?
Background blur, often called the bokeh effect, is a photography technique where the subject is in sharp focus while the background is intentionally blurred. This effect creates depth and draws attention to the main subject. In professional photography, it is achieved using high-end lenses with wide apertures. iPhones mimic this effect using software algorithms combined with dual-camera setups or advanced sensors.
Why Blur Background on iPhone?
- Highlight the Subject: Blurring the background ensures that the viewer’s how to blur background on iphone attention goes directly to the subject.
- Professional Appearance: Photos with background blur look like how to blur background on iphone they were shot with DSLR cameras.
- Creative Flexibility: Background blur allows creative control over the depth and mood of a photo.
Methods to Blur Background on iPhone
There are multiple ways to achieve background blur on an iPhone. The method you choose depends on the iPhone model and the tools you prefer.
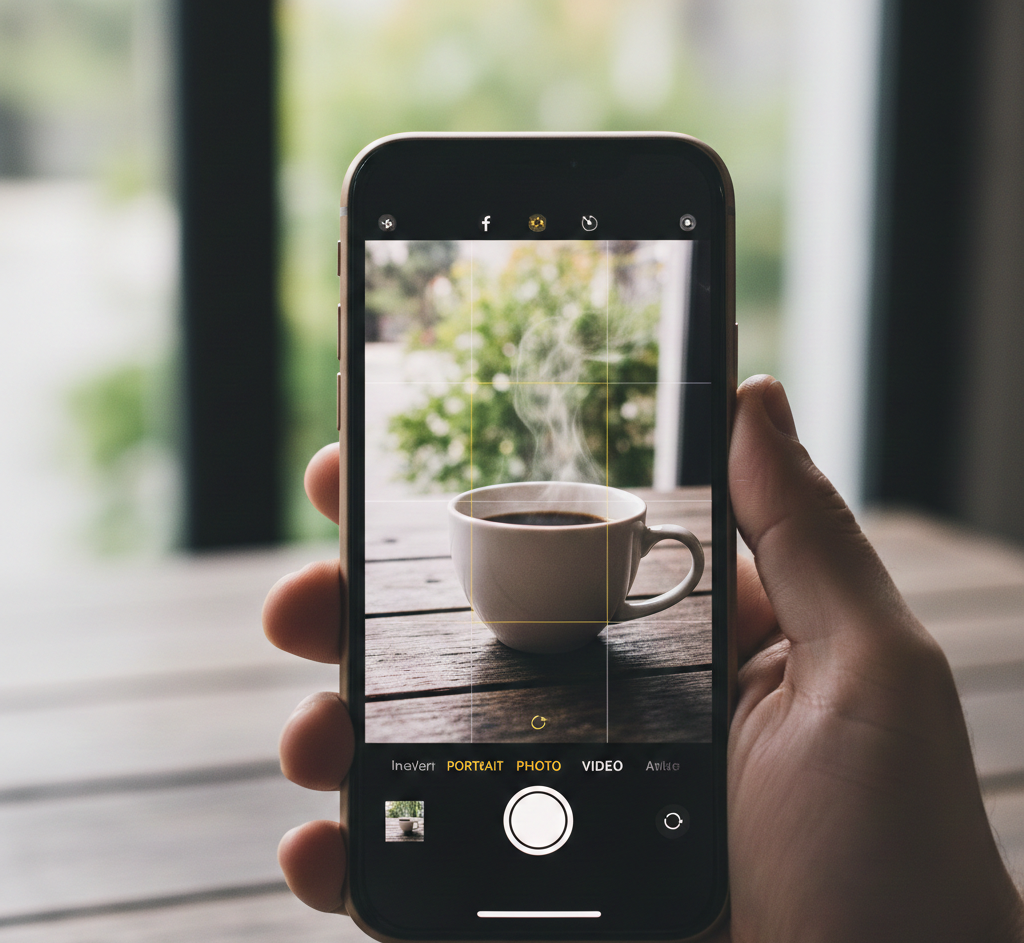
1. Using Portrait Mode
iPhones from iPhone 7 Plus and later feature Portrait Mode, which is designed specifically to blur backgrounds. Here’s how to use it:
- Open the Camera app.
- Swipe to Portrait Mode.
- Ensure your subject is within 2-8 feet of the camera.
- The camera automatically detects the subject and blurs the how to blur background on iphone background.
- Tap the shutter button to capture the photo.
Tips for Best Results:
- Use good lighting to improve subject detection.
- Avoid cluttered backgrounds to enhance the blur effect.
- Move slightly to see how the background blur changes.
2. Adjusting Blur After Taking a Portrait Photo
On iPhones with iOS 11 and later, you can edit the blur intensity after taking a photo:
- Open the Photos app and select a Portrait Mode photo.
- Tap Edit.
- Look for the f-stop slider (Depth Control) at the top.
- Adjust the slider to increase or decrease how to blur background on iphone background blur.
- Tap Done to save changes.
This allows you to refine the depth of field without retaking the photo.
3. Using Third-Party Apps to Blur Background
If your iPhone doesn’t support Portrait Mode or you want more control, third-party apps can help. Popular apps include:
Snapseed
- Free photo editor by Google.
- Use the Lens Blur tool to selectively blur how to blur background on iphone backgrounds.
AfterFocus
- Allows manual and automatic selection of subjects.
- Offers adjustable blur strength and shape.
Photoshop Express
- Advanced editing capabilities for iPhone users.
- Lets you create selective blur effects and add creative filters.
4. Using iPhone Live Photos
Live Photos can also be used to create blurred backgrounds:
- Open Photos app.
- Select a Live Photo how to blur background on iphone .
- Tap Edit and choose Depth Effect.
- Adjust blur intensity with the slider.
Live Photos give an additional dynamic element since the how to blur background on iphone background blur can slightly adjust as you move the camera.
5. Blurring Background in Videos
iPhones with Cinematic Mode (iPhone 13 and later) allow you to blur video backgrounds:
- Open the Camera app.
- Switch to Cinematic Mode.
- Focus on your subject; the camera automatically blurs the background.
- Tap to adjust focus while recording.
- After recording, edit the blur intensity and focal points in the Photos app.
This is perfect for vloggers or creative video projects.
Tips for Better Background Blur on iPhone
Even with advanced technology, certain practices enhance background blur results:
- Maintain Distance: Keep the subject away from the background to increase blur effect.
- Use Portrait Lighting: Portrait Lighting modes enhance the subject while softening background details.
- Avoid Busy Backgrounds: Minimalist or uniform backgrounds make the blur more noticeable.
- Use Telephoto Lens (if available): iPhones with multiple lenses allow better depth perception.
- Steady Hands: Hold your phone steadily or use a tripod for sharper subject focus.
Troubleshooting Common Issues
Sometimes, background blur may not work perfectly. Here’s how to troubleshoot:
Problem 1: Portrait Mode Not Working
- Ensure your iPhone model supports Portrait Mode.
- Clean the camera lens to avoid obstruction.
- Move to better lighting conditions.
Problem 2: Background Blur Looks Artificial
- Adjust the Depth Control slider for a more natural effect.
- Avoid very cluttered or low-contrast backgrounds.
Problem 3: Editing Blur After Capture Fails
- Make sure the photo was captured in Portrait Mode.
- Update your iOS to the latest version.
Creative Ideas Using Background Blur
Blurring the background isn’t just technical; it’s also an art form. Here are some creative ways to use it:
- Portraits: Make your selfies and portraits stand out.
- Product Photography: Highlight a product while keeping the surroundings subtle.
- Travel Photography: Blur tourists or busy streets to focus on landmarks.
- Macro Shots: Emphasize small objects like flowers or food.
- Social Media Content: Eye-catching posts with professional-looking backgrounds.
Comparing iPhone Background Blur With DSLR
While iPhones provide impressive blur capabilities, some differences exist:
| Feature | iPhone | DSLR |
|---|---|---|
| Lens Control | Limited | Full control over aperture and focal length |
| Depth Detection | Software-assisted | Hardware-based |
| Ease of Use | Very easy | Requires photography knowledge |
| Post-Editing | Adjustable with apps | Requires software like Photoshop |
| Portability | Extremely portable | Less portable |
iPhone blur is ideal for casual photographers, social media content creators, and anyone who wants professional-looking results quickly.
Conclusion
Mastering how to blur background on iPhone transforms ordinary photos into visually stunning works of art. From Portrait Mode to third-party apps and Cinematic Mode for videos, iPhones provide a wide range of tools for achieving this effect. By understanding depth control, lighting, and composition, anyone can create professional-looking images with just a few taps.
Whether you’re capturing portraits, food, travel, or video content, knowing how to blur the background on iPhone gives you a creative edge and lets you produce striking visuals effortlessly.
READ MORE: NEWZTOP.CO.UK